
Don’t come back from your next trip with a bunch of smartphone pics and the excuse “you had to be there really”. Instead, bag some envy-inducing shots worthy of National Geographic with these simple tips.
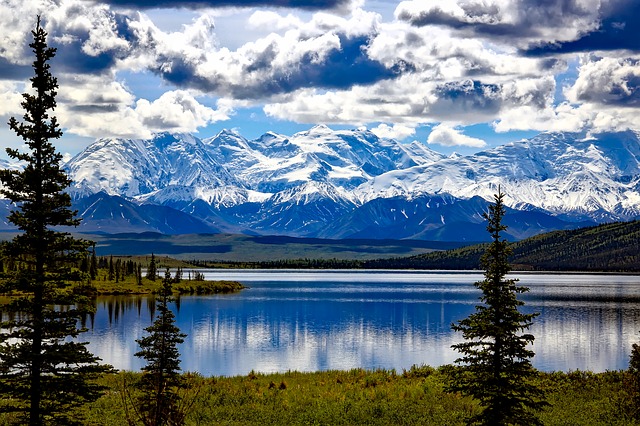
Alaska Image by 12019 CC0
Take a decent camera.
Go old school Single Lens Reflex, or take it up a notch with a DSLR. Whatever you do, don’t use a smartphone, use a camera where you can adjust light settings and aperture to get the aesthetic you are looking for.
Use a tripod.
The best way to get the perfect frame for your shot, and the only way to wait for the right moment without ruining the image with camera shake. A tripod is also essential for taking long exposures.
Pack a cable release.
The hands off approach will ensure you don’t jog the camera when releasing the shutter, or cause any movement during long exposure photography.
Take a variety of lenses
Take a wide-angle, super-wide angle and a telephoto lens at the very least. This image of Seljalandsfoss, one of the most-photographed waterfalls in south Iceland, was taken with a 10mm fish-eye lens by Geraldine Westrupp of Wild Photography Holidays.
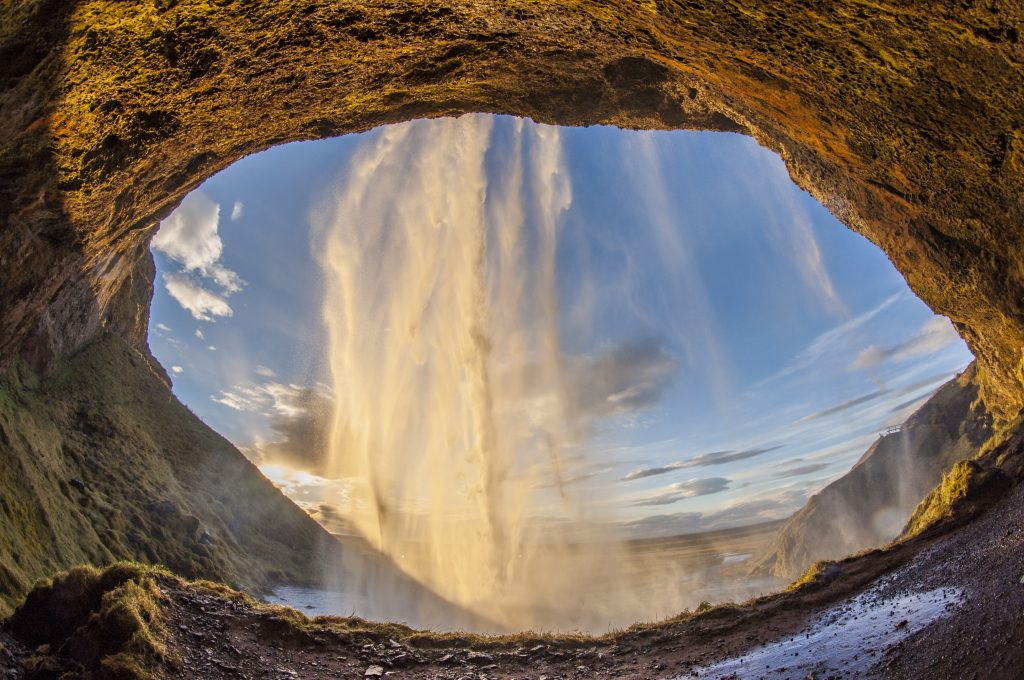
© GERALDINE WESTRUPP
Photographer tip: Try an unusual perspective
“Taking this picture from the path to the back of Seljalandsfoss gives an unusual perspective, and the use of a 10mm fish-eye lens gives remarkable results. The setting sun lights up the wall behind this stunning cascade only a few times in the year. October, when this shot was taken, is a good time to try.”
Photographer tip: Get up early
“Getting up early ensures that you have time to get to your chosen location and set up your equipment before the action starts. On Iceland’s Diamond Beach (pictured below) the sun rises over the sea and it lights up the water and sparkling ice that graces the black sand. The actual appearance of the sun in this case is not important; the effect that it has on the ice is where the drama is. It’s a good idea to pinpoint the perfect time to shoot by using a smartphone app such as Sun Seeker to determine sunrise and sunset times for your exact location.”
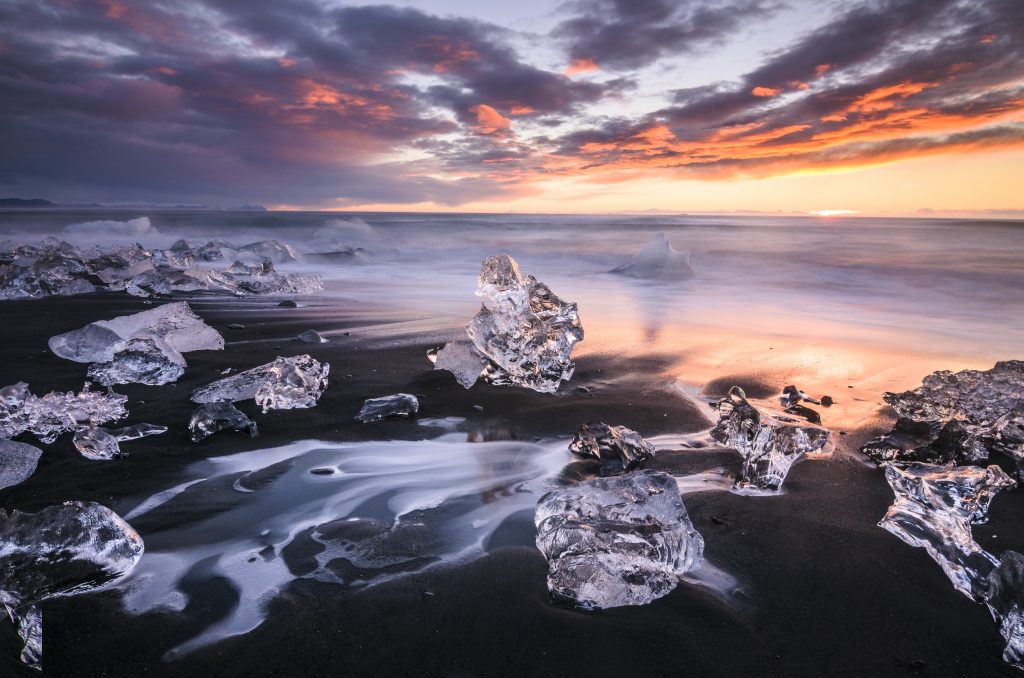
© GERALDINE WESTRUPP
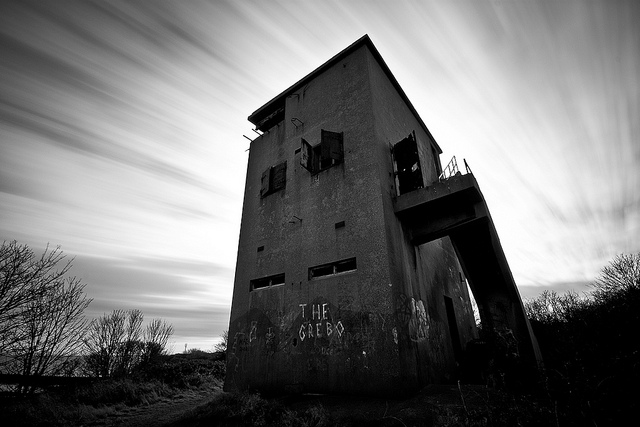
Pack your filters.
A UV filter will really make the image crisp and the colours pop, and a polarising filter will give extra colour saturation as well as reducing glare off highly reflective surfaces. An ND filter is awesome for daytime long exposures, resulting in an ephemeral aesthetic when photographing waves or fast moving clouds in the sky.
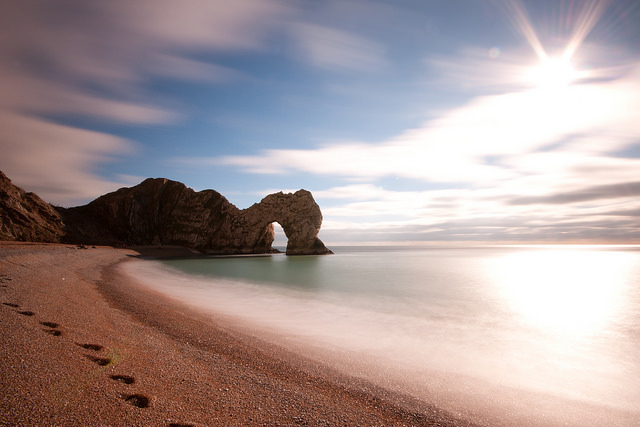
© Fortythree Photography
© Fortythree Photography